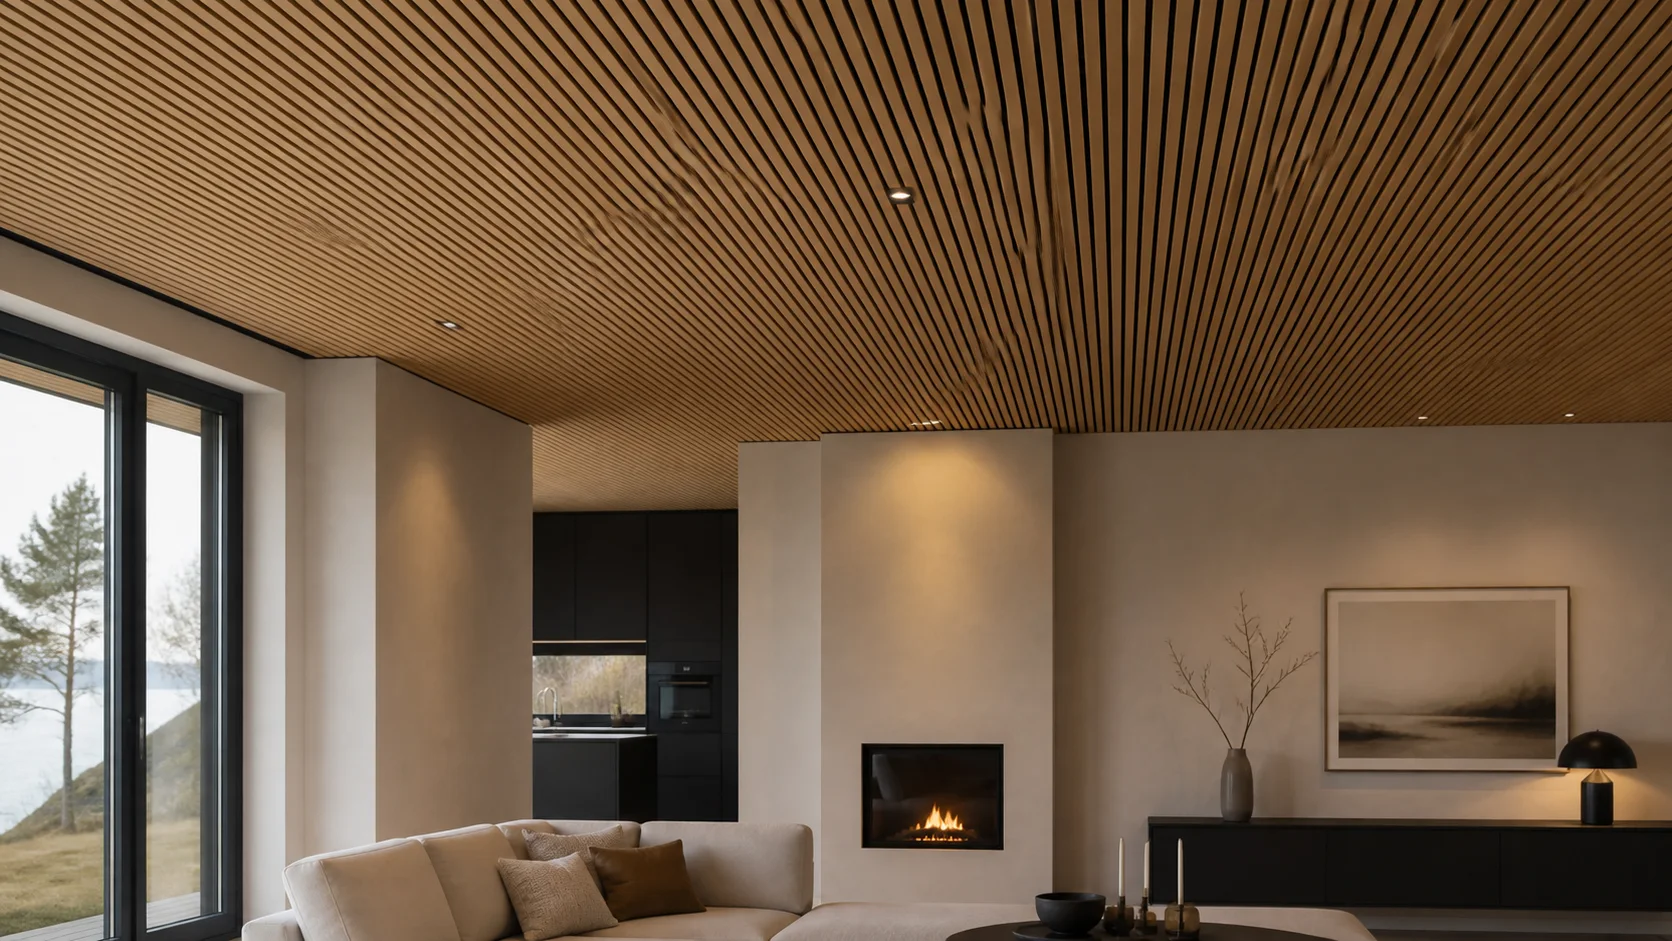
A wood slat ceiling can make a room feel warmer, calmer, and more cohesive. It is also less forgiving than a wall. Gravity, lighting, ventilation, and out-of-square corners must be resolved before the first slat or panel goes up.
Begin with a dimensioned plan. Decide where the slatted area starts and ends, which way the lines run, and where every technical fitting will sit. Confirm that both the product and fixing method are approved by the manufacturer for ceiling use.
Choose The Direction To Suit The Room
Slats running along the longest axis emphasize length, while a crosswise layout can make a narrow room feel wider. In an open-plan kitchen and living area, one continuous direction can connect the zones.
Consider daylight too. Light crossing the slats makes the rhythm and shadows stronger. Light following the slats usually looks calmer. Lay out a few slats on the floor and view them from the main entrance before deciding.
Find A Load-Bearing Base
A slat ceiling needs mechanical fixings into a base that can support its weight. Adhesive alone should not carry material overhead. Locate joists or another suitable structure, and plan battens if the ceiling is uneven or if you need a cavity for cables and acoustic insulation.
Battens can level the surface and provide consistent fixing lines. Their size, spacing, and fixings must suit the panel weight, substrate, and manufacturer instructions. With felt-backed acoustic panels, screws normally pass through the felt into battens or joists. Follow the specified fixing intervals and secure cut slat ends where required.
Draw In Lights And Services
Mark downlights, pendants, smoke alarms, vents, speakers, and curtain tracks before distributing the slats. Avoid placing a downlight partly through a slat. Shift the lighting line, adjust the layout start, or create a deliberate unslatted strip instead.
Recessed fittings need the specified clearance and ventilation. Electrical work must meet local requirements. Keep drivers, junctions, and service points accessible rather than burying them behind a permanent ceiling.
Calculate The Rhythm Before Ordering
Measure the ceiling in several places because older rooms are rarely perfectly parallel. Decide whether you want equal margins, a consistent shadow gap, or perimeter trim.
For individual slats, use the slat wall calculator to test slat width and gap. Divide the ceiling width by slat width plus gap, then fine-tune the rhythm so both edges finish cleanly. Calculate linear material from the number of slats and their run length.
Allow for cutting and selection. Around 10% is a useful starting point in a simple rectangular room, while sloped ceilings, many penetrations, or continuous grain matching may require more. For modular panels, use the actual coverage measurement, not just the outside dimensions.
Treat Acoustics As A System
Slats alone do not automatically make a room noticeably quieter. Performance depends on the felt backing, cavity, absorber, and covered area. A battened acoustic slat ceiling can reduce reverberation in rooms with hard floors and large windows, but results vary between systems.
Look for tested absorption data when acoustics are a main objective. Do not fill the cavity arbitrarily, and ensure the build-up remains compatible with fire requirements, lighting, and ventilation. A partial ceiling above a dining or seating area can provide useful zoning and absorption without covering the whole room.
Resolve The Edges Before Installation
The first reference line controls the ceiling. Set it with a laser or measured axis rather than assuming a wall is straight. Dry-fit the first row and check the opposite edge before making permanent fixings.
Finish with a consistent shadow gap, matching timber trim, a painted perimeter, or a carefully planned wall-to-ceiling transition. Avoid a very narrow final slat. A small spacing adjustment distributed across the ceiling is less visible than one awkward remnant at the wall.
Install Safely And In Sequence
Overhead work is more demanding than wall installation. Use a stable work platform and two people for long or heavy panels. Paint the ceiling, perimeter, and any visible backing first. Install cables and reinforcement, followed by battens, backing, and absorber in the order required by the system.
Check direction and gap width with every row. A simple spacer and regular laser checks keep the rhythm consistent.
A Good Slat Ceiling Is Designed Before It Is Built
The best result comes from precise choices rather than maximum coverage. Direction, margins, lighting, and fixing points should read as one plan. Once the structure and all penetrations are mapped, the calculator can help you find a rhythm that fits the ceiling and reduces waste.
Frequently Asked Questions
Can Slat Panels Be Installed Directly On A Ceiling?
Yes, if the product is approved for ceiling use and mechanically fixed into a suitable structure according to its instructions. Adhesive alone should not support panels overhead.
Which Way Should Ceiling Slats Run?
Along the longest axis they emphasize length; across it they can widen a narrow room visually. Also consider daylight, the main viewpoint, and alignment with fixed architectural lines.
Do Ceiling Slats Improve Acoustics?
A tested acoustic panel or a slatted build-up with the correct cavity and absorber can reduce reverberation. Plain timber slats alone provide limited absorption, so assess the complete system and its test data.