LED lighting in a slat wall works best as hidden, indirect mood lighting. Place the strip in an aluminum profile with a diffuser, use warm and dimmable light around 2700-3000K, and let the light hit a surface before it reaches the room to avoid visible dots. Plan cables, driver, and service access before the wall is closed.
LED lighting can turn a slat wall from a decorative surface into a more considered interior feature. Used well, it adds depth, warmth, and calm. Used poorly, it creates glare, visible dots, harsh contrast, or a technical setup that is difficult to service.
Plan the lighting at the same time as the slats, spacing, and fixings. It is much easier to create a clean detail before the wall is closed than to hide cables, drivers, and profiles afterwards.
Decide what the light should do
Start with the purpose. LED lighting in a slat wall can work in several ways, but it is best not to combine every idea in one project.
Common uses include:
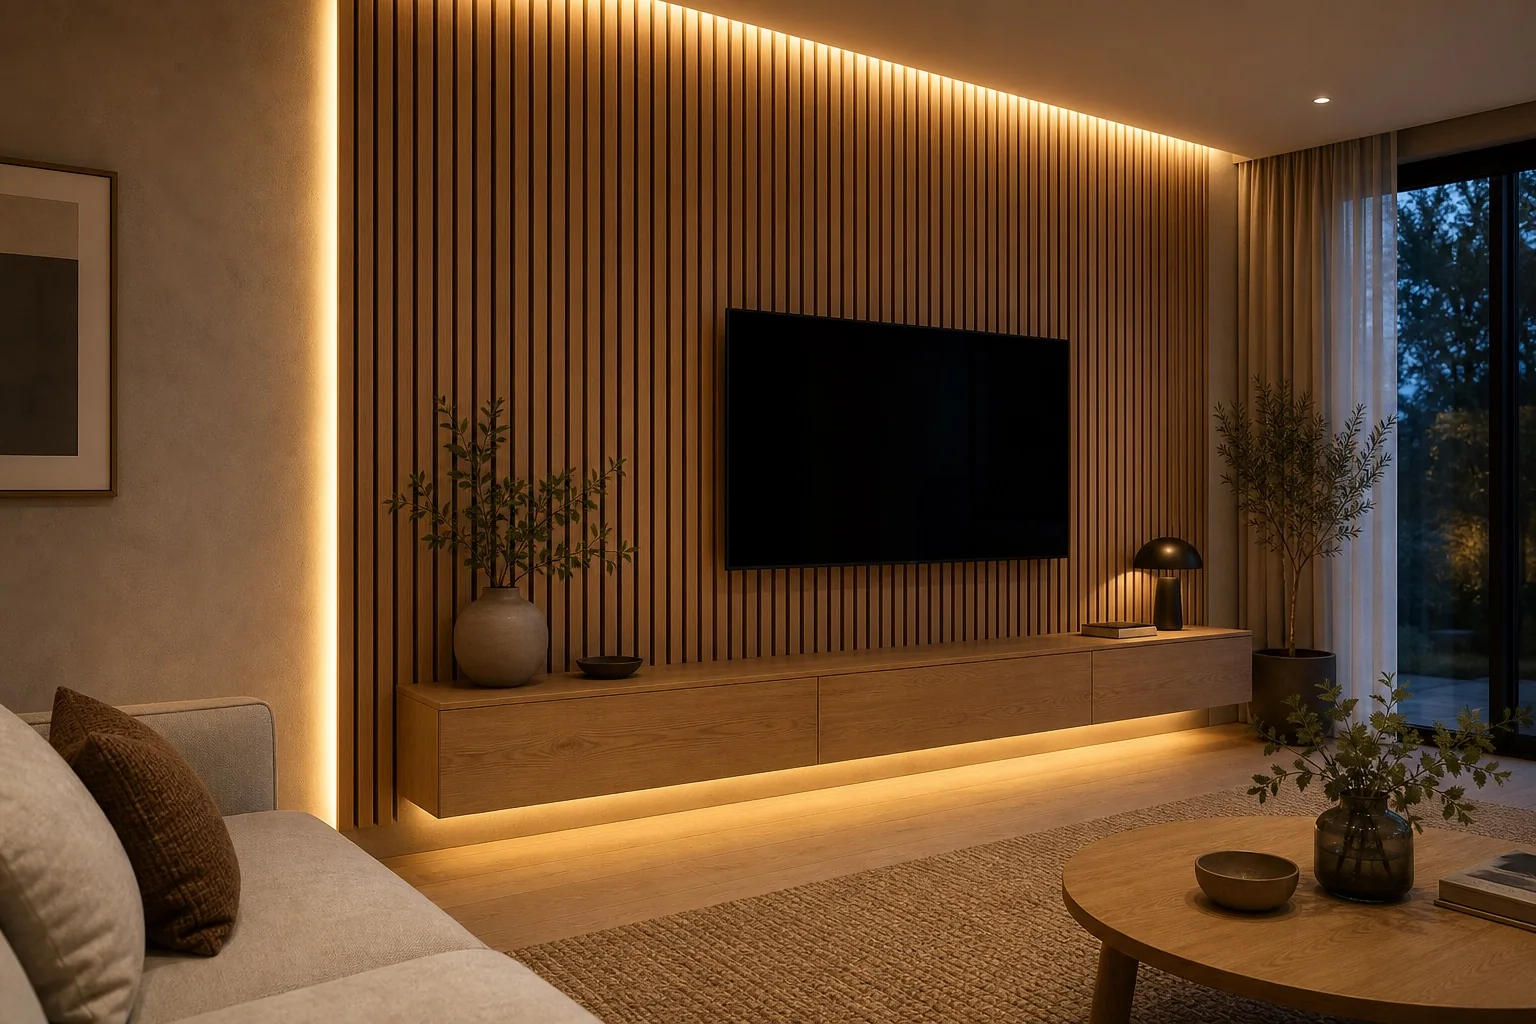
- soft ambience behind a TV wall
- marking the edge of a slatted feature wall
- low-level night lighting behind a headboard
- emphasizing depth between slats and backing
- discreet orientation lighting in a hallway or stair area
If you need task lighting, the slat wall is rarely the main source. The room will usually need downlights, wall lights, or lamps as well. LED in the slat wall works best as indirect lighting and atmosphere.
Choose placement before ordering materials
The cleanest solutions hide the LED strip itself. You see the glow, not the dots. That usually means placing the strip in a reveal, behind an edge, inside an aluminum profile with a diffuser, or behind a slatted area with enough distance to the wall.
Good locations often include:
- along the side of the slatted field so the light washes the wall
- above or below a floating media bench
- behind a headboard, pointed toward the wall
- inside a niche where the strip is not visible from normal eye level
- behind an acoustic panel if the build-up allows airflow and service access
Avoid placing a bare LED strip directly between slats if you can see into it. Visible dots and hard contrast quickly make the detail feel technical rather than calm.
Use warm, dimmable light
For living rooms, bedrooms, and hallways, warm light usually works best with wood. A range around 2700K to 3000K often feels natural. Warmer light gives the wall a softer mood, while cooler light can make the timber feel flatter and more technical.
Choose dimming early. A strip that feels pleasant in the evening may be too weak in daytime and too strong late at night. Dimming makes the wall more flexible and less intrusive.
If the slat wall sits behind a TV, the light should dim low. Strong light around the screen can become tiring. The guide to a slat wall behind a TV covers screen, cable, and lighting planning together.
Think about heat and lifespan
LED strips do not get hot like older lamps, but they still produce heat. If the strip is sealed inside a tight slat wall without good contact to a profile or substrate, lifespan can suffer.
An aluminum profile is often a good choice. It keeps the strip straighter, improves the light line, protects the strip, and helps conduct heat away. A diffuser also makes the individual LED points less visible.
Plan for:
- the strip lying flat in the profile
- enough profile width and depth
- a diffuser that does not press against the LED points
- a driver location with airflow
- future access to replace the strip or driver
It is tempting to hide everything completely, but service access is part of a good detail. LED strips and drivers last a long time, not forever.
Plan cables and driver access
Cable routing should be sketched before the slats go up. Decide where the strip starts, where the cable runs, where the driver sits, and how you will reach it later.
The driver should be placed somewhere with air and access, such as a media bench, cabinet, technical niche, or removable panel. Avoid trapping it behind a permanent slat surface.
Be clear about the difference between low-voltage LED components and fixed electrical work. Plug-in products can often be planned like furniture and surface lighting, but fixed outlets, concealed wiring, and work on the electrical installation should be handled by a qualified professional.
Avoid visible dots and glare
The most common visual problem is making the LED strip too visible. Then you see small dots, hard reflections, or a line of light that feels more technical than refined.
To avoid that:
- use a profile with a diffuser
- let the light hit a wall surface before reaching the room
- increase the distance between the strip and the visible opening
- choose a strip with close LED spacing
- test the position temporarily before fixing everything
Check the light from the sofa, standing height, and from the side. A detail that looks perfect straight on can glare from a normal seating position.
Count the materials together
LED lighting affects the slat wall itself. You may need extra depth, a trim piece, a service zone, or a different edge detail near corners and ceiling. Use the slat wall calculator to test slat width and spacing, but allow room for profiles, cable routing, and removable parts.
If the light sits along an edge, treat that edge as part of the rhythm. A wider border or intentional shadow reveal often looks better than squeezing the last slat tight against an LED profile. How the slat surface reflects the light is something you can read more about in the guide to finishing slats with oil, stain, or lacquer.
Frequently asked questions
What color temperature should I choose for the LED light?
For slat walls in living rooms, bedrooms, and hallways, warm light around 2700-3000K usually works best. It gives a cozier mood, while cooler light can make the timber feel flatter and more technical.
How do I avoid visible dots between the slats?
Hide the strip in a profile with a diffuser, increase the distance between the LED strip and the visible opening, and let the light hit a wall surface before it reaches the room. Choose a strip with close LED spacing and test the position temporarily first.
How many slats do I need for the wall with LED?
Use wall width ÷ (slat width + gap). On a 240 cm wall with 48 mm slats and an 18 mm gap that is 2400 ÷ 66 ≈ 36.4, so round up to 37 slats, roughly 97.7 linear metres once you add 10% for waste. Remember to leave room for the profile and cable routing as well.
Calm lighting is about restraint
The best LED lighting in a slat wall is often noticed before the technology is seen. The light should support the material, not compete with it. Use fewer light lines, warm color temperature, good dimming, and a layout where cables and drivers remain accessible.
When placement, heat, cables, and service are planned before the first slat is installed, the result is cleaner and easier to live with.