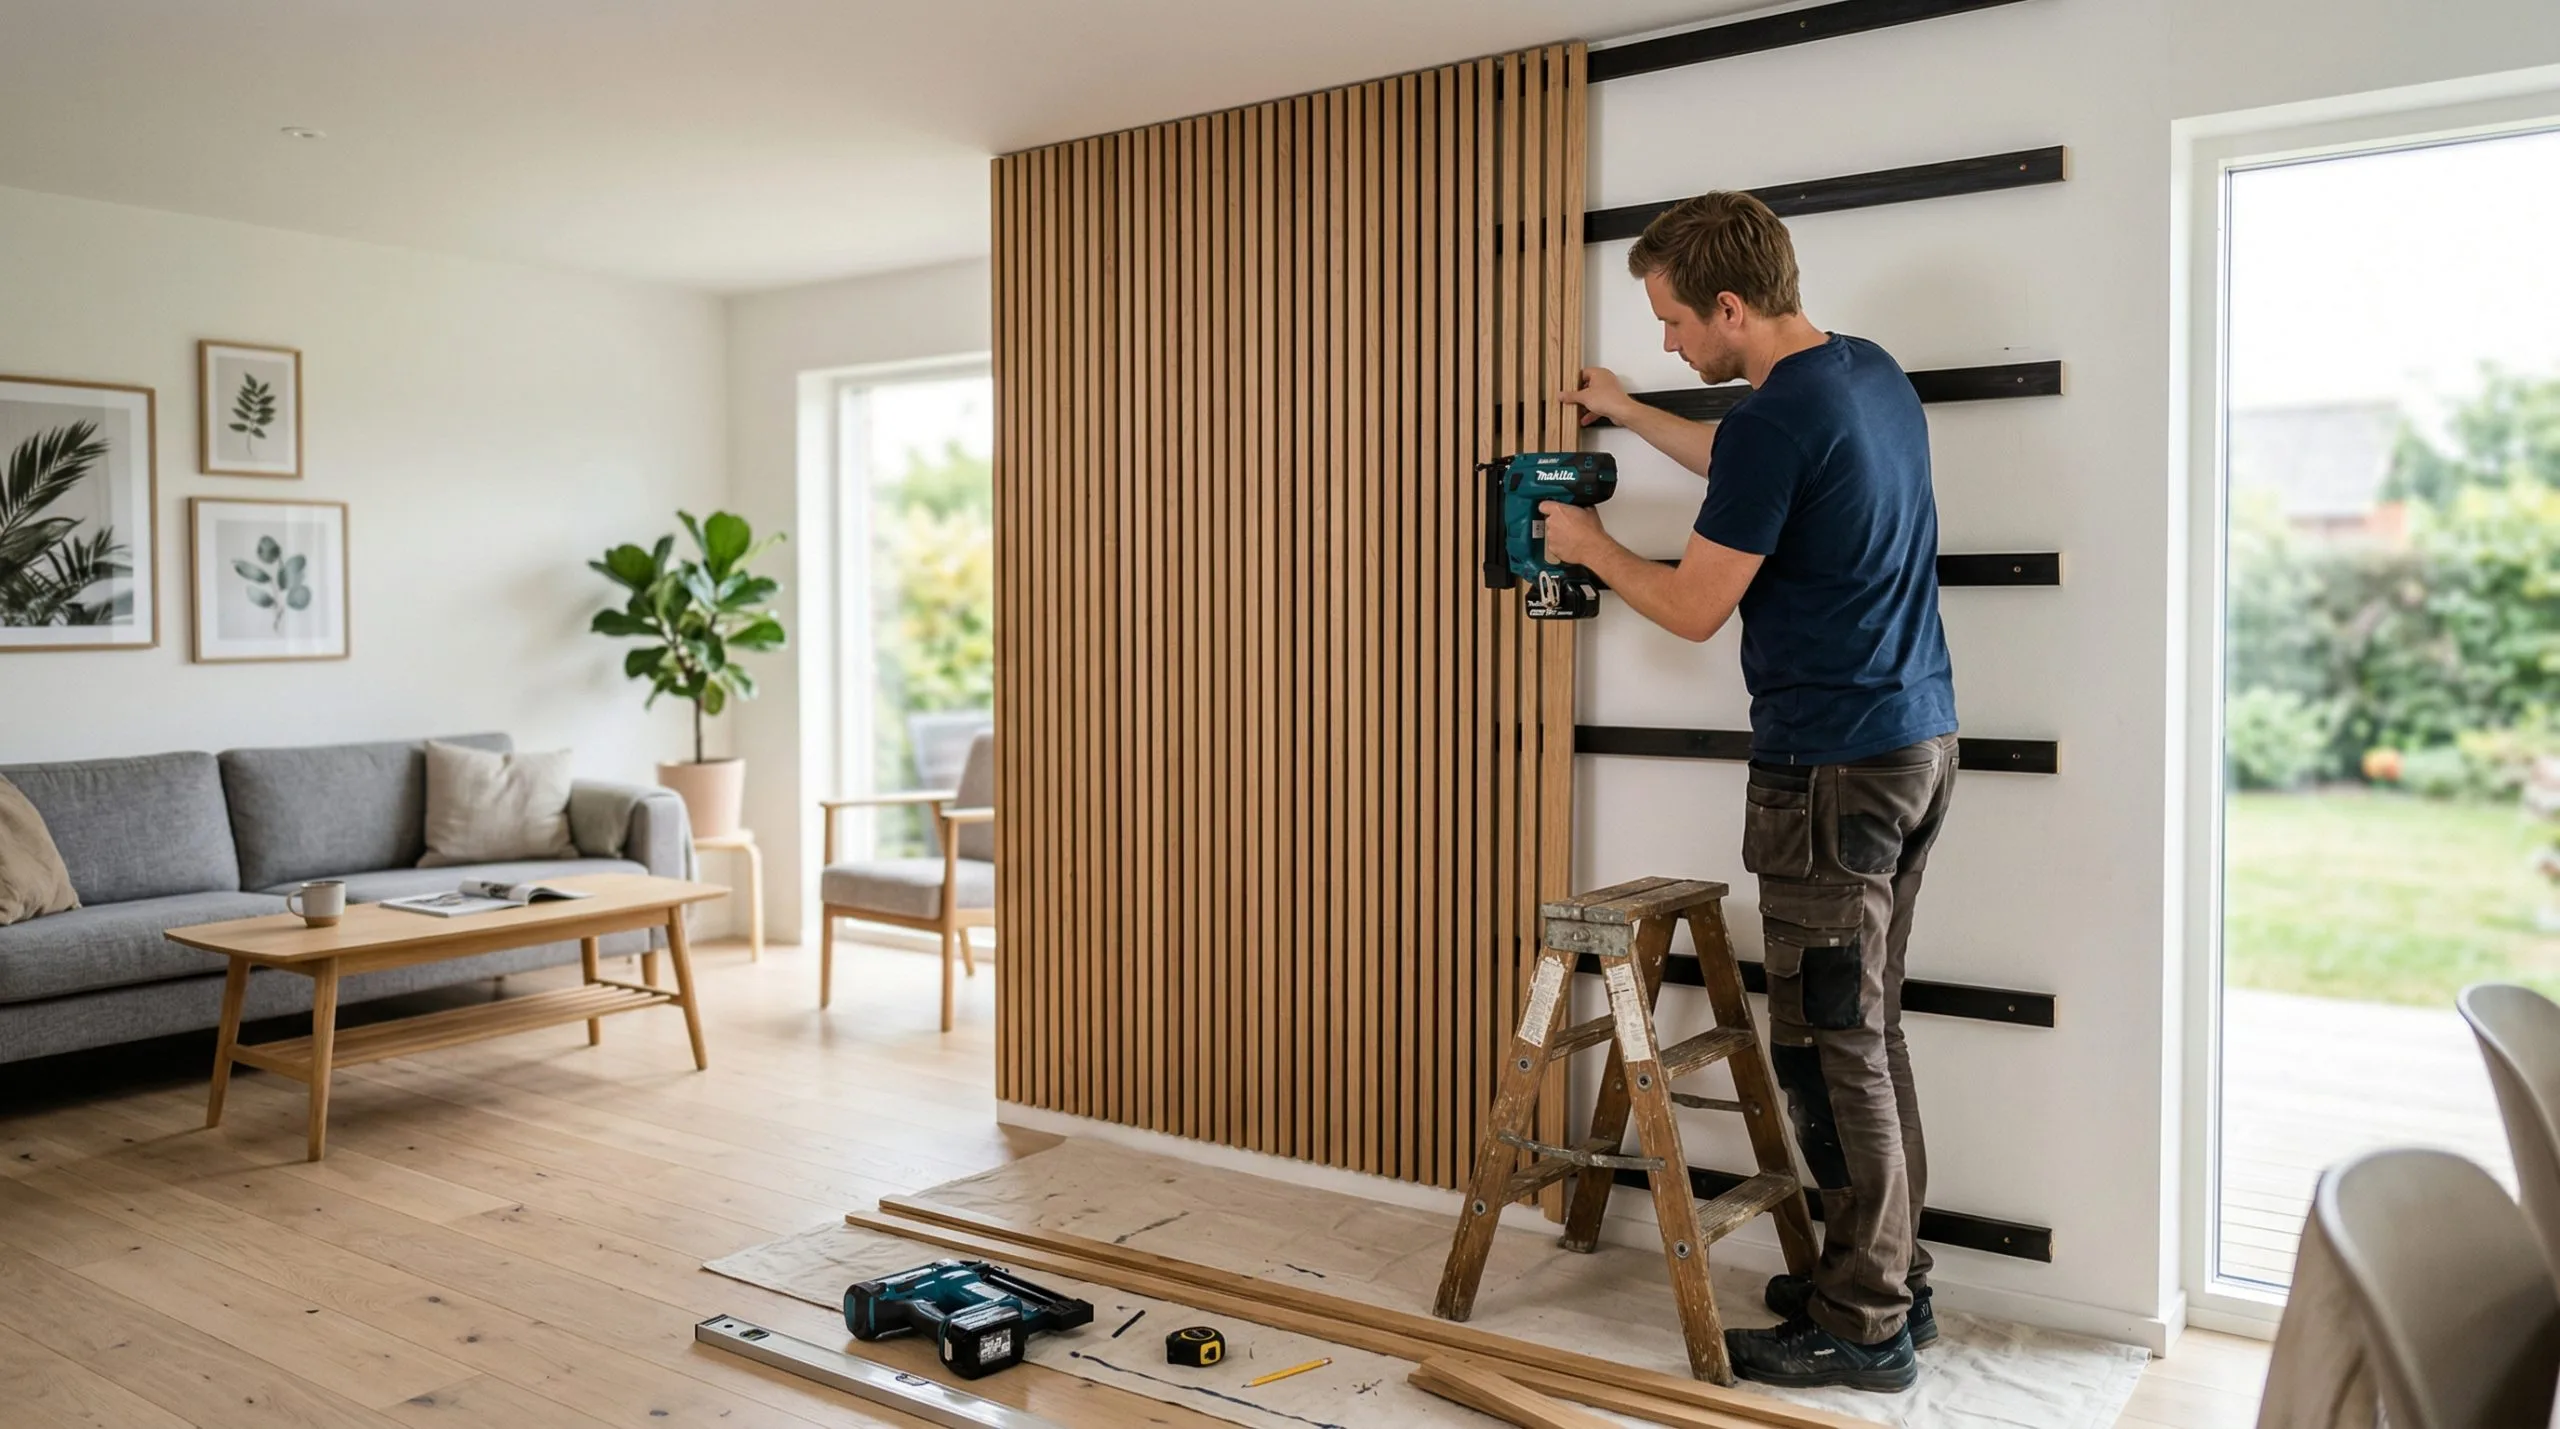
Building a slat wall yourself is a project many people manage well, as long as the planning is as thorough as the installation itself. You do not need advanced solutions to get a clean result, but you should have control over measurements, substrate, material choice, and the spacing between the slats before you start.
Whether you want to use a slat wall as a room divider, behind the TV, as a headboard, or as a screen on a patio, the principle is quite similar. In this guide we go through what you should think about, which mistakes are common, and how to build step by step without making the project more complicated than it needs to be.
What should you settle before you begin?
Before you buy materials, decide what the slat wall is actually meant to do. Should it be primarily decorative, screen against being overlooked, divide a room, or give a little shelter outdoors? The answer affects the height, width, material choice, and how closely the slats should sit.
It is also wise to check the substrate carefully. A wall of drywall, masonry, wood, or concrete does not necessarily call for the same fixing method. If the slat wall is going to stand freely, you also need to plan for a stable base or solid fixing into the floor and ceiling. If you are building outdoors, give extra thought to moisture, movement in the timber, and how exposed the structure will be to wind.
Which materials and tools do you need?
It is tempting to start with the slats themselves, but the result is often better when you think about the whole first. You do not need to buy the most expensive option, but the parts should fit together and withstand the use you have planned.
- slats in the dimension and wood species you want
- battens or a backing frame if the solution needs them
- screws or other fixings suited to the substrate
- a saw, drill, spirit level, tape measure, and pencil
- a finish if the wall is going outdoors or in an exposed environment
If you are unsure about material choice, it can be smart to read more about finishing slats with oil, stain, or lacquer before you decide. That is especially true if the project is going in a room with a lot of sun, temperature swings, or high humidity.
How do you measure correctly before installation?
Good measuring saves you a lot of irritation later. Always measure the whole surface in several places, not just one point. Walls, floors, and ceilings are rarely perfectly straight, and small deviations quickly become visible when you mount repeating slats side by side.
Then decide which slat width and which gap you want to use. This very choice affects both the look and how many slats you need to buy. If the goal is a light, modern feel, a more open solution can work nicely. If you want more screening, you often need tighter spacing. If you are using the wall outdoors, you may also find the guide on slat spacing on a patio useful.
Once you have chosen roughly the width and spacing you want, it is wise to calculate the whole thing before you shop. Use the formula for the number of slats or the slat wall calculator. As a reference: a wall of 240 x 240 cm with 48 mm slats and an 18 mm gap covers 66 mm per slat, which gives about 15 slats per metre, so 37 slats and about 97.7 linear metres with a 10% allowance. Then you can see whether the solution works out with your actual measurements and avoid having to improvise once installation is already underway.
How to build a slat wall yourself, step by step
The build itself does not have to be complicated, but it pays to work in the right order. That makes the result straighter, cleaner, and easier to adjust along the way.
- Mark the outer points. Find the exact start and end of the wall, and check with a spirit level that the first reference is straight.
- Mount any backing battens or frame. This gives a safer substrate and makes it easier to get even fixing.
- Cut all the slats as evenly as possible. Small differences in length quickly become visible, especially indoors where the look is often tighter.
- Use a spacer block or a fixed jig. This is a simple way to keep the gaps equal throughout the whole wall.
- Check the lines as you go. Do not wait until the end to discover that the wall is drifting out of plumb or that the spacing is gradually changing.
- Apply a finish where needed. Outdoor projects and some indoor environments need extra protection to stay looking good over time.
A good piece of advice is to test a few slats first before you finish the whole surface. Then you can see how the width, spacing, and look work in the room or on the patio, and you can adjust before the whole material pack is used up.
Which mistakes are most common when people build a slat wall themselves?
The most common mistakes rarely have to do with the cutting itself. They more often have to do with planning. Many people measure too roughly, choose the slat spacing without testing it visually, or forget that timber can move when temperature and moisture vary.
Another typical mistake is choosing a fixing method before thinking through the substrate. What works fine on an interior timber wall is not necessarily the right solution on masonry, in a bathroom, or on a patio. If you are in doubt, it is better to spend a little extra time on the fixing than to have to rebuild later. For a deeper look, see the guide to five common mistakes to avoid when installing a slat wall.
When is it smart to choose a simpler solution or get help?
If the wall is large, has to stand freely, or must withstand a lot of weather and load, it can be smart to simplify the project or get professional help with parts of the job. The same applies if you want a very precise result on a visible wall in a living room or bedroom. There, small misalignments can become more irritating than you might think.
For smaller projects, on the other hand, it is often perfectly possible to do the job yourself. Many people find that a slat wall is a good project to take in stages, as long as they have a clear plan and know how many slats and how much material are actually needed.
Summary
Building a slat wall yourself becomes far simpler when you first decide on the function, measure precisely, and choose a solution that suits both the substrate and the environment the wall will stand in. The installation itself is often manageable. It is the planning that decides how smoothly the project goes.
Before you start, it can therefore be smart to test different combinations of slat width and spacing. That gives you both better control over the look and a more precise materials list. Use the calculator to work out how many slats and how many linear metres you need before you shop.
If the wall is going to stand freely in the room, you should also read about a freestanding slat wall and how to keep it stable.
Frequently asked questions
How many slats do I need for a 240 cm wall?
With 48 mm slats and an 18 mm gap, each slat covers 66 mm, so around 15 slats per metre. On a 240 cm wide wall that comes to 37 slats.
How many linear metres does a standard wall use?
A wall of 240 x 240 cm with 37 slats needs about 97.7 linear metres once you add a 10% allowance for cutting and waste. Without the allowance the requirement is around 89 linear metres.
Should I build the slat wall myself or get help?
Smaller projects are often perfectly possible to do yourself with a clear plan. If the wall is large, has to stand freely, or must withstand a lot of weather, it can pay to simplify the solution or get professional help.